A homemade harness can be a genuinely fun project, and a fine choice for light everyday wear or a costume fit. It’s worth being upfront about where it fits relative to a commercially tested one. For the full picture on walking safety, see Dog Walking Safety Tips.
What a DIY Harness Is Good For, and What It Isn’t
A hand-sewn harness hasn’t been through the kind of load and pull testing a commercial harness undergoes, so it’s best suited to calm dogs, light everyday walks, and situations where a failure wouldn’t be dangerous, rather than a strong puller, off-leash training, or any car travel use.
For car travel specifically, a DIY harness isn’t a substitute for a genuinely crash-tested product. See Dog Car Seats and Safety Restraints for why that distinction matters.
Materials That Actually Hold Up
Nylon webbing, 1 inch wide for a small-to-medium dog or 1.5 inches for a larger dog, gives meaningfully more strength than a lighter cotton or canvas fabric.
Choose metal, not plastic, hardware for the D-ring and any buckles, since this is the point most likely to fail under a hard, sudden pull.
Taking Accurate Measurements
Measure neck circumference, chest girth (the widest point behind the front legs), and the length from the base of the neck to where the chest strap will sit, with your dog standing naturally rather than sitting or stretched.
Add roughly 2 inches to each measurement for adjustment room, since a harness sized to the exact measurement leaves no margin for a properly snug, adjustable fit.
Reinforcing the Load-Bearing Points
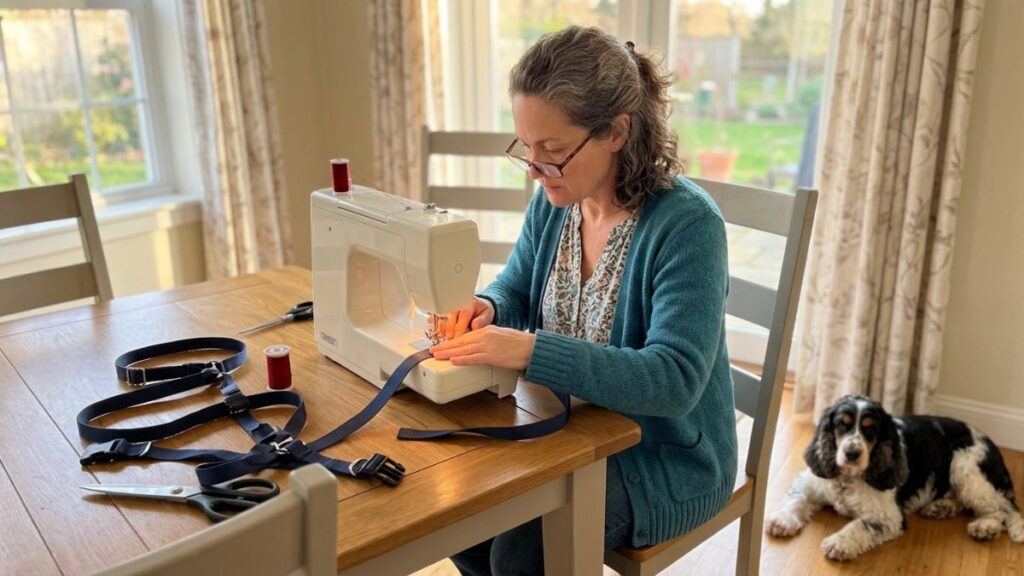
Use a box stitch (a square with an X through it) at every point where webbing meets a D-ring or buckle, since this pattern distributes stress across multiple stitch lines rather than concentrating it on a single seam.
Double or triple-stitch these same points for extra security, using a heavy-duty needle rated for nylon webbing so the stitching itself doesn’t tear through the material under tension.
Testing Before Real Use
Test the finished harness on a short, supervised walk in a low-risk area before relying on it anywhere with real consequences, like near traffic or on a longer hike.
Check the fit against backward pressure specifically, not just forward pulling, since backing out of a harness is a more common failure mode than the material itself tearing.
Common Mistakes
Using plastic hardware to save cost. Metal hardware at the D-ring and buckle points holds up far better under real pulling force.
Skipping reinforcement stitching at stress points. A single seam at a D-ring is the most likely place for a homemade harness to fail.
Treating a finished DIY harness as equivalent to a crash-tested product. It’s a reasonable everyday option, not a substitute for genuine car safety certification.
FAQ
Is a DIY harness safe for regular daily walks?
For a calm dog that doesn’t pull hard, yes, as a reasonable everyday option, tested first in a low-risk setting.
Can I use a DIY harness for hiking or car travel?
It’s not recommended for either, since both situations benefit from a product genuinely tested for extended wear or crash forces specifically.
What’s the most important sewing detail to get right?
The reinforcement stitching at the D-ring and buckle points, since this is where a homemade harness is most likely to fail under real pulling force.
The Bottom Line
A well-made DIY harness works fine for light everyday use on a calm dog, as long as you’re honest with yourself about where it shouldn’t replace a commercially tested product. For the full picture on walking safety, head back to Dog Walking Safety Tips.